Let's start. Download VirtualBox from the site linked to above. Then download an image of some Linux distribution, say, Linux Mint. An "image" in this context is a large file, usually with a .iso extension, that you would normally burn to a DVD and insert into your computer when booting it, causing it to load the installer from the DVD. However, with VirtualBox you can use a virtual DVD drive, so it just uses the file you downloaded, without needing any actual physical installation disk to be inserted.
Install VirtualBox. It's a normal application so there's nothing weird about the installation process. Then, once your Linux image download finishes, run Virtual box. You are greeted with a screen more or less like this:

Here in this VirtualBox I have already installed an Ubuntu system, so your view of the application will be much emptier, but don't let that bother you. Instead, click on the 'New' button in the toolbar to get to this view:

Now the next phase should be to decide the amount of memory you wish to dedicate to your virtual computer:

Computers generally run smoother the more memory they have, but be sure to leave some for your main operating system as well. :) Here, VirtualBox suggests a ridiculously low amount of 384 MB of memory. That may have been enough about ten years ago, but definitely not today, so I've given it a third of all the memory in my computer, i.e. 4 GB, leaving the other 8 GB for Windows and its other applications.
The next phase is to give the virtual computer a virtual disk to which the operating system can be installed and files can be saved. This disk, just like the virtual computer, is actually only a file on one of your normal hard drives.
The process goes like this: first you choose a file format for your disk. You don't really need to care about this, because as it says, you can leave it unchanged because you are not going to use it with any other virtualization software besides VirtualBox:

Next you choose whether you want a dynamically allocated disk or a fixed size disk. The dynamically allocated disk starts with a smaller file and grows when more data is saved on it, whereas the fixed size disk is at its maximum size right from the beginning and, like the prompt says, is often faster to use:


Congratulations! Your virtual computer is now ready to be booted up for the first time. Click on the Start button in the toolbar when your new computer is selected. Again, don't mind me having the Ubuntu computer there -- you should now only have that Linux Mint computer, or whichever OS you chose to install:

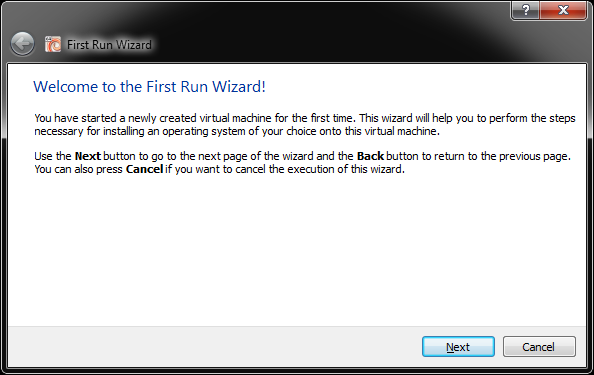
You should now see a First Run Wizard that prompts you for the image file you downloaded earlier. Find it and let the installation begin:

The virtual computer boots up and probably loads the Linux Mint desktop. It's now running off the virtual DVD, so it's not installed into the virtual hard drive yet. Open the Install Linux Mint application:

Mint is easy to install. Just fill in the forms:

After the installation is finished, you should be back at the desktop, this time without the "Install Linux Mint" application. Well done!
Finally, if when trying to change the screen resolution in the operating system in your new virtual computer the higher resolutions are not available, try following these instructions posted elsewhere.
Ei kommentteja:
Lähetä kommentti