 |
| Raspberry Pi 3 Model B |
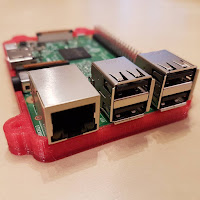
In this post I'm succinctly going to explain how to setup a Raspberry Pi computer that does not have a monitor or a keyboard (a "headless" setup), using a Windows PC. I'm using a
Raspberry Pi 3 Model B. The microSD slot is under the circuit board, at the other end where the USB and Ethernet connectors aren't. At the time of writing this post the latest version of the Raspbian
Jessie Stretch Lite operating system is the version that was released on
2016-11-25. (
Update on December 2018: The latest version is nowadays called Stretch, not Jessie, and it was released on 2018-11-13!)
- Download Raspbian Stretch Lite (pro tip: the Torrent file loads faster)
- Download Etcher
- Run Etcher to install the Raspbian Stretch Lite on your microSD card
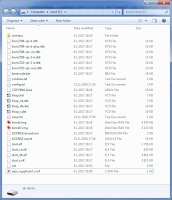 |
| Contents of the microSD card |
Etcher may unmount the card after it's done: remount it, then add a new file into it, called "ssh". No extension, no contents in the file. This enables the SSH daemon on the Raspbian. - Optional: If you want to use your Raspberry with a WIFI connection instead of an Ethernet cable, add another new file called "wpa_supplicant.conf". In this file add the following:
network={
ssid="NAME OF YOUR WIFI"
psk="PASSWORD OF YOUR WIFI"
}
- Insert the microSD card into your Raspberry Pi, then start it by connecting the power cord. Make sure the Ethernet cable is connected too – or that you completed the optional step 5 above. The system will be ready in about 15 seconds.
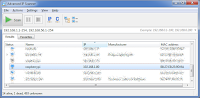 |
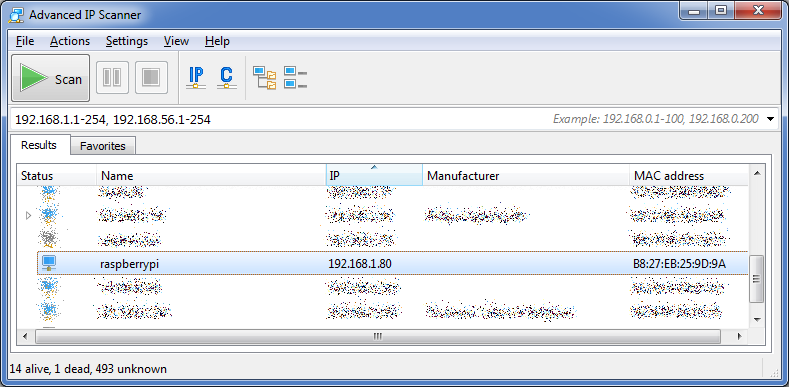
| Advanced IP Scanner |
Using either your router's admin view or the Advanced IP Scanner program find the IP address of your Raspberry.
- Use Putty to connect to your Raspberry
- Username "pi", password "raspberry".
- You are now logged in. Now update your system: first do "sudo apt-get update" and then "sudo apt-get dist-upgrade".
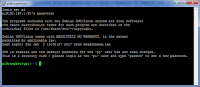 |
| Logged in |
Congratulations, your Raspberry Pi is now ready for use!
PS. If you don't have a case for your Raspberry, why not find a 3D printer and print one? Thingiverse has for example
this one that also fits perfectly for a Raspberry Pi 3 model B.


Finally, if you have an external Apple Time Capsule hard drive and you want to connect to it automatically from the Raspberry Pi, add this line to your /etc/fstab file (do "sudo nano /etc/fstab"):
VastaaPoista//TIME_CAPSULE_IP_ADDRESS/Data /mnt/SOME_NAME_FOR_YOUR_MOUNT_DIRECTORY cifs user=TIME_CAPSULE_USER,pass=TIME_CAPSULE_PASSWORD,rw,uid=1000,iocharset=utf8,sec=ntlm 0 0
Raspbian Stretch is more picky with these parameters: it needs the parameter named "username", not "user", and it also needs a new parameter "vers=1.0" explicitly specified. If these are omitted, it will display an useless and even harmful error message "mount error(112): Host is down".
PoistaI've just updated the post to note that the current version of Raspbian is called Stretch, not Jessie anymore.
VastaaPoistaSee this post on how to install Java: https://www.raspberrypi.org/forums/viewtopic.php?p=1220629&sid=973cdcd665389c6904cd4b1250fc2cdc#p1220629
VastaaPoistaThen see this post on how to create a RAM disk, for temporary files that you don't want to write to the SD card in order to better preserve it: https://www.hellojona.com/2017/06/create-a-ram-disk-tmpfs-in-raspberry-pi-3/
VastaaPoistaNano can have syntax highlighting, cool: https://askubuntu.com/questions/90013/how-do-i-enable-syntax-highlighting-in-nano
VastaaPoista